Portfolio
Transform Your Gear: A Step-by-Step Guide to the Protect Aid Solutions Sublimation Patches (Stack & Spread Set)
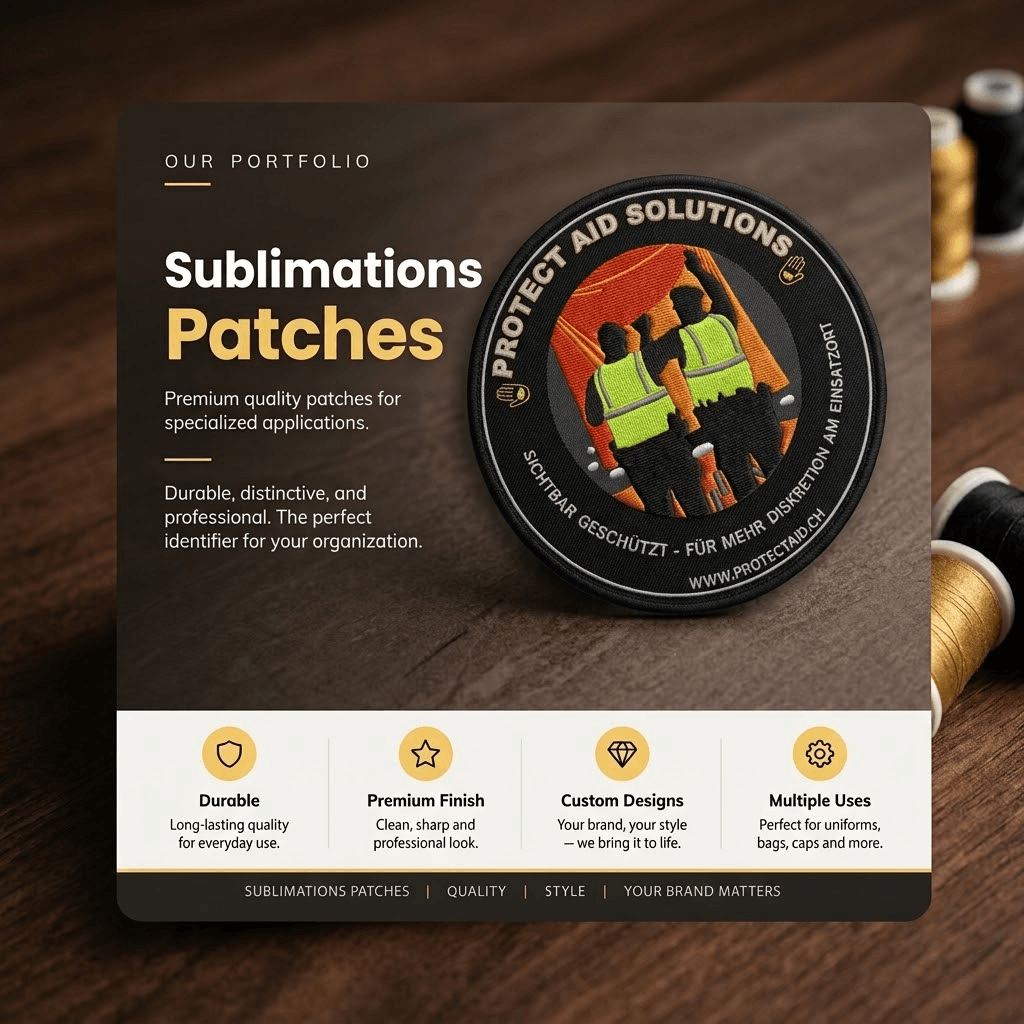
Looking to personalize your jacket, backpack, hat, or uniform with vibrant, professional-quality designs? Customizing gear has never been easier or more creative. With the Protect Aid Solutions Sublimation Patches: Stack & Spread DIY Set, you have everything you need to bring your high-definition graphics to life.
Whether you are a DIY enthusiast, a small business owner, or crafting custom apparel for a team, this guide breaks down why this kit is a game-changer and how to use it step-by-step.
Why Choose the Stack & Spread DIY Set?
Sublimation printing on patches can sometimes be tricky—misalignment, uneven heating, or flimsy edges can ruin a great design. Protect Aid Solutions engineered the Stack & Spread system to eliminate these headaches.
- Vibrant Color Retention: Specially coated fabric ensures your dye-sublimation ink bonds deeply, yielding rich, fade-resistant colors.
- Durable Edging: High-density borders prevent fraying and ensure your patches withstand washing, weather, and daily wear.
- Versatile Application: Designed for easy iron-on, heat-press, or sew-on attachment to almost any fabric surface.
- Seamless Process: The “Stack & Spread” workflow keeps your patch blanks aligned during heat transfer for crisp, edge-to-edge results every single time.
What You Need to Get Started
Before launching your DIY session, gather the following tools:
- Protect Aid Solutions Sublimation Patches (Stack & Spread DIY Set)
- Sublimation Printer loaded with sublimation ink
- Sublimation Transfer Paper with your printed mirror-image design
- Heat Press or Flat Iron
- Heat-Resistant Tape
- Protective Parchment or Teflon Sheet
Step-by-Step DIY Guide
Step 1: Design & Print
Create or select your graphics using your preferred design software. Remember to mirror your image before printing on your sublimation transfer paper. Scale the artwork so it slightly exceeds the patch dimensions to ensure complete edge-to-edge coverage.
Step 2: Prepare Your Workstation
Preheat your heat press to 375°F–400°F (190°C–200°C). Lay down a clean Teflon or parchment sheet to protect your heat platen from stray ink.
Step 3: Stack & Secure
Position the blank patch face-up on your work area. Place your printed sublimation paper face-down directly over the patch. Use heat-resistant tape to secure the paper to the patch background so it won’t shift during pressing.
Tip: If pressing multiple patches at once, use the “Spread” technique by arranging them evenly with enough space between each piece to distribute pressure uniformly.
Step 4: Apply Heat & Pressure
Place a parchment sheet over your taped patch set. Press with medium to firm pressure for 45 to 60 seconds.
Step 5: Peel and Reveal
Carefully remove the patch set from the press (be cautious, as items will be hot!). Quickly peel away the sublimation paper while the patch is still warm to prevent ghosting. Allow it to cool completely on a flat surface.
Step 6: Attach to Your Gear
Once your patch is cool, it’s ready to mount:
- Iron-On / Heat Seal: Position the patch on your clothing or bag, cover with parchment, and press at high heat for 15–20 seconds.
- Sew-On: For heavy-duty gear or leather items, stitch along the reinforced outer border for maximum hold.
Tips for Best Results
- Avoid Overheating: Excessively high temperatures or overly long press times can scorch the border material. Stick to the recommended time and temperature settings.
- Keep It Flat: Always let the patches cool on a flat surface to prevent curling along the edges.
- Pre-Press the Surface: If ironing the patch onto a garment, pre-press the fabric for 3–5 seconds to remove moisture and wrinkles before applying the patch.
Ready to Elevate Your Custom Merch?
The Protect Aid Solutions Sublimation Patches (Stack & Spread DIY Set) gives you full creative freedom without sacrificing durability or print quality. From company logos and team badges to unique artistic creations, this set makes patch customization fast, clean, and professional.
Got questions about using the set or want to show off your latest creations? Drop a comment below or tag us in your DIY project photos!Transform Your Gear: A Step-by-Step Guide to the Protect Aid Solutions Sublimation Patches (Stack & Spread Set)
Looking to personalize your jacket, backpack, hat, or uniform with vibrant, professional-quality designs? Customizing gear has never been easier or more creative. With the Protect Aid Solutions Sublimation Patches: Stack & Spread DIY Set, you have everything you need to bring your high-definition graphics to life.
Whether you are a DIY enthusiast, a small business owner, or crafting custom apparel for a team, this guide breaks down why this kit is a game-changer and how to use it step-by-step.
Why Choose the Stack & Spread DIY Set?
Sublimation printing on patches can sometimes be tricky—misalignment, uneven heating, or flimsy edges can ruin a great design. Protect Aid Solutions engineered the Stack & Spread system to eliminate these headaches.
Vibrant Color Retention: Specially coated fabric ensures your dye-sublimation ink bonds deeply, yielding rich, fade-resistant colors.
Durable Edging: High-density borders prevent fraying and ensure your patches withstand washing, weather, and daily wear.
Versatile Application: Designed for easy iron-on, heat-press, or sew-on attachment to almost any fabric surface.
Seamless Process: The “Stack & Spread” workflow keeps your patch blanks aligned during heat transfer for crisp, edge-to-edge results every single time.
What You Need to Get Started
Before launching your DIY session, gather the following tools:
Protect Aid Solutions Sublimation Patches (Stack & Spread DIY Set)
Sublimation Printer loaded with sublimation ink
Sublimation Transfer Paper with your printed mirror-image design
Heat Press or Flat Iron
Heat-Resistant Tape
Protective Parchment or Teflon Sheet
Step-by-Step DIY Guide
Step 1: Design & Print
Create or select your graphics using your preferred design software. Remember to mirror your image before printing on your sublimation transfer paper. Scale the artwork so it slightly exceeds the patch dimensions to ensure complete edge-to-edge coverage.
Step 2: Prepare Your Workstation
Preheat your heat press to 375°F–400°F (190°C–200°C). Lay down a clean Teflon or parchment sheet to protect your heat platen from stray ink.
Step 3: Stack & Secure
Position the blank patch face-up on your work area. Place your printed sublimation paper face-down directly over the patch. Use heat-resistant tape to secure the paper to the patch background so it won’t shift during pressing.
Tip: If pressing multiple patches at once, use the “Spread” technique by arranging them evenly with enough space between each piece to distribute pressure uniformly.
Step 4: Apply Heat & Pressure
Place a parchment sheet over your taped patch set. Press with medium to firm pressure for 45 to 60 seconds.
Step 5: Peel and Reveal
Carefully remove the patch set from the press (be cautious, as items will be hot!). Quickly peel away the sublimation paper while the patch is still warm to prevent ghosting. Allow it to cool completely on a flat surface.
Step 6: Attach to Your Gear
Once your patch is cool, it’s ready to mount:
Iron-On / Heat Seal: Position the patch on your clothing or bag, cover with parchment, and press at high heat for 15–20 seconds.
Sew-On: For heavy-duty gear or leather items, stitch along the reinforced outer border for maximum hold.
Tips for Best Results
Avoid Overheating: Excessively high temperatures or overly long press times can scorch the border material. Stick to the recommended time and temperature settings.
Keep It Flat: Always let the patches cool on a flat surface to prevent curling along the edges.
Pre-Press the Surface: If ironing the patch onto a garment, pre-press the fabric for 3–5 seconds to remove moisture and wrinkles before applying the patch.
Ready to Elevate Your Custom Merch?
The Protect Aid Solutions Sublimation Patches (Stack & Spread DIY Set) gives you full creative freedom without sacrificing durability or print quality. From company logos and team badges to unique artistic creations, this set makes patch customization fast, clean, and professional.
Got questions about using the set or want to show off your latest creations? Drop a comment below or tag us in your DIY project photos!